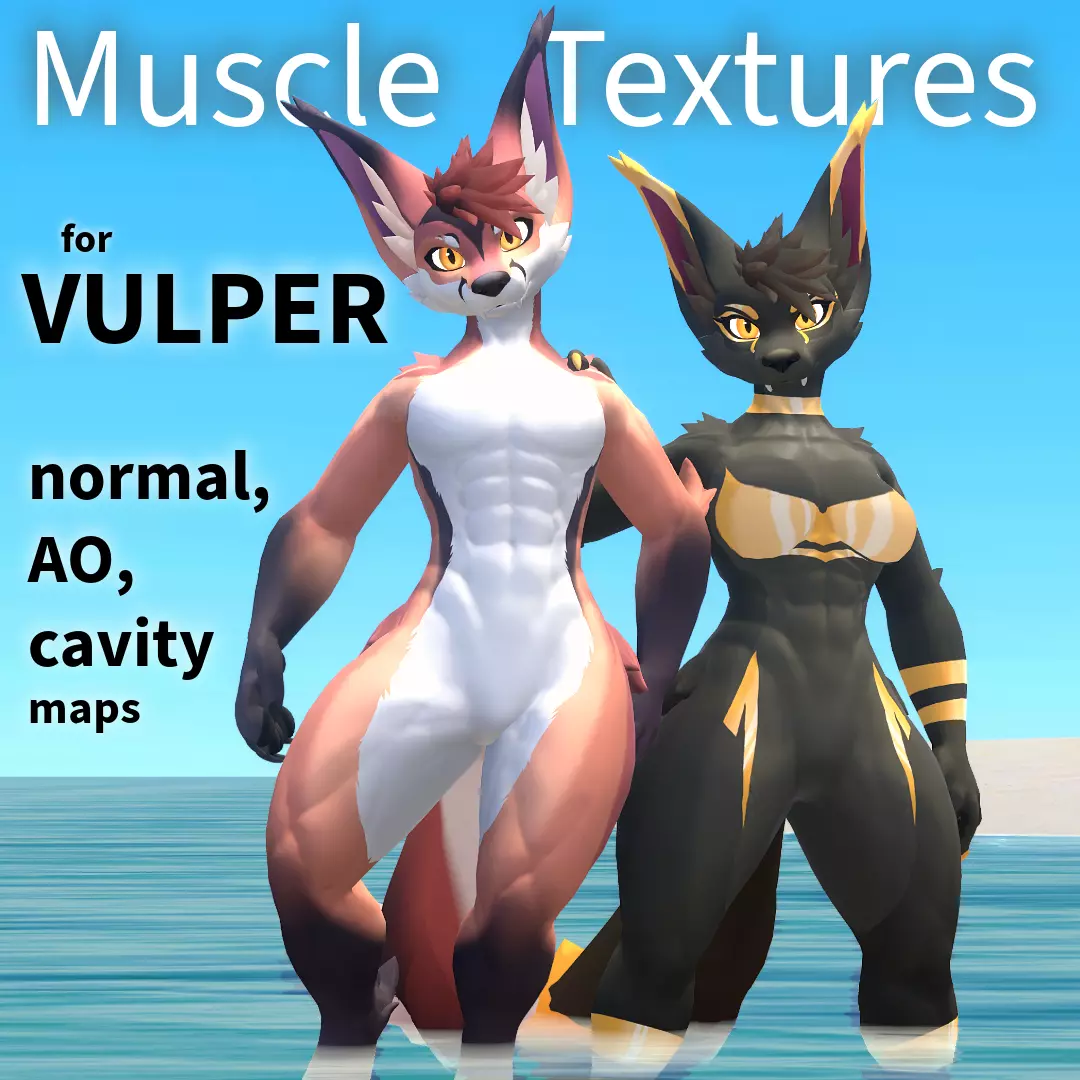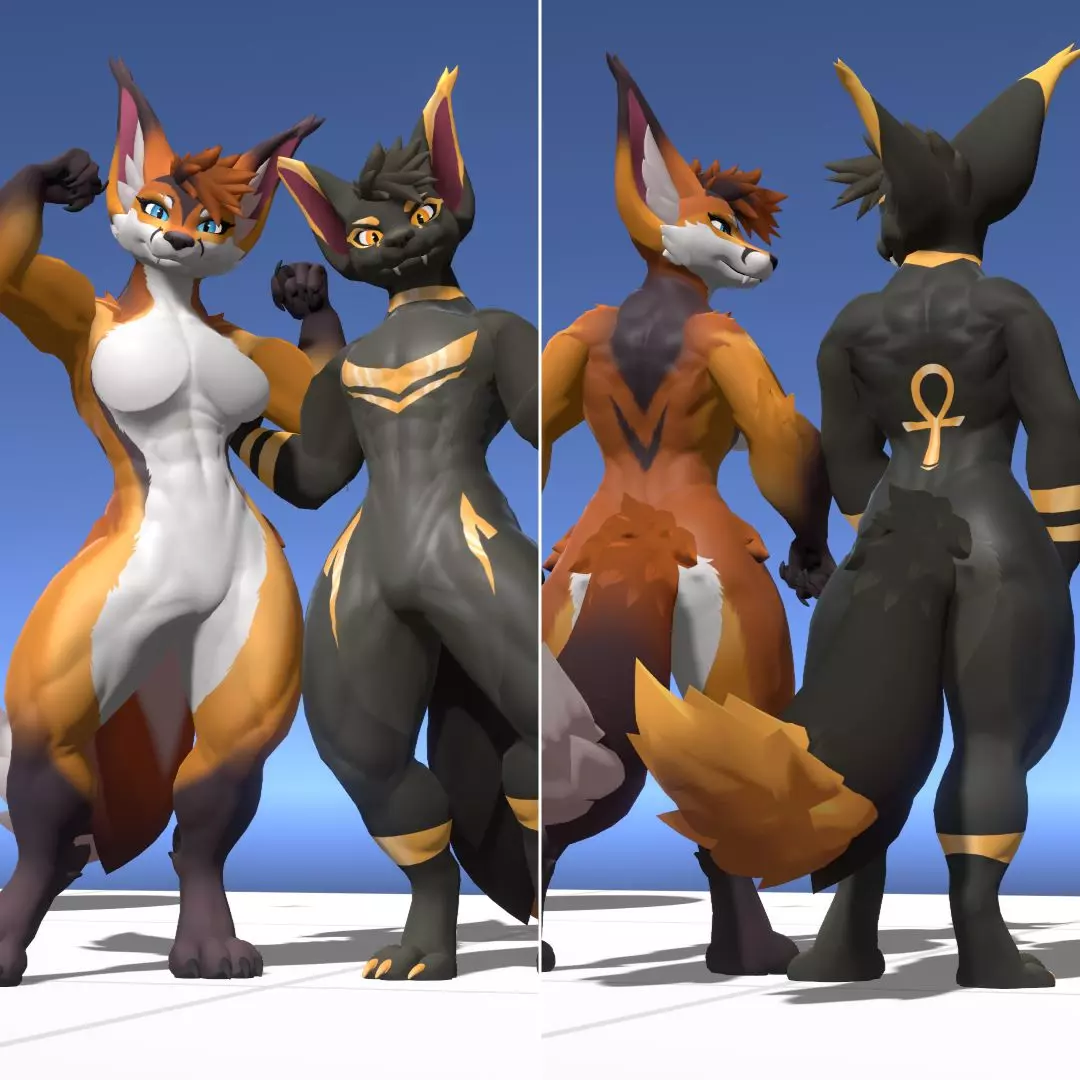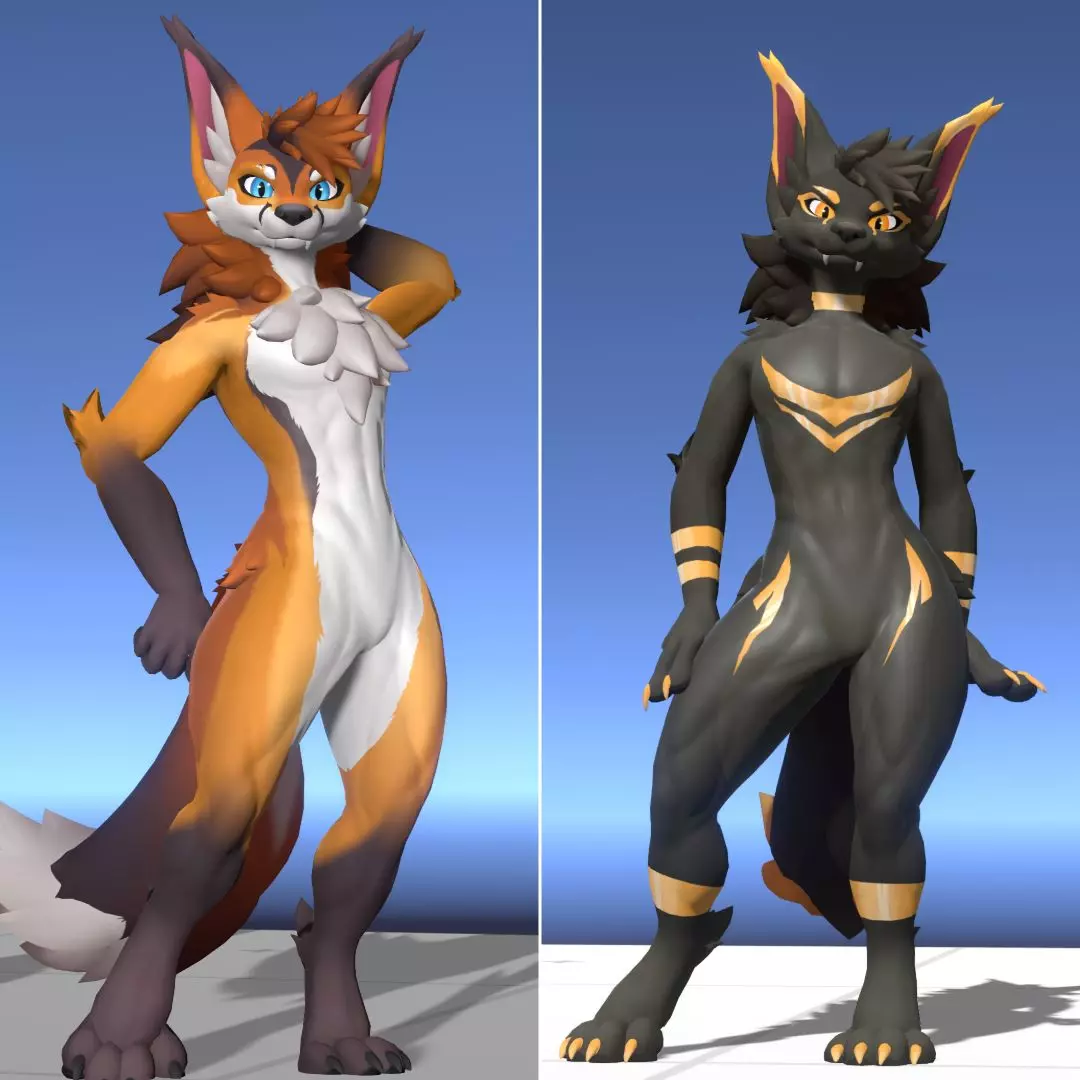


Have you ever wanted to show your physical ability and/or muscle while wielding the Vulper avatar? Now, this texture pack is tailor-made especially for you.
These textures work with the Vulper Fire and Vulper Ice by Reval, Meaty and Royalty.
This pack comes with two sets of muscle textures: the ripped and smoother version!
Both versions include:
- 4K Muscle normal map for the avatar
- 4K Muscular ambient occlusion map for the avatar
- 4K Muscle cavity map for additional shadings in software like Substance Painter
- 4K Muscle shading map and mask for enhancing cavity shadings in 2D editing software (supports layer multiplying, e.g., Photoshop, Krita) or Substance Painter.
- 4K Muscle thickness map for enhancing the muscle shadings or adding beautiful subsurface scattering effects.
This purchase does NOT include:
Any default or edited files belonging to the Vulper base.
DO:
Edit this texture for your personal use.
Take commissions to use and edit this texture, provided that you and the commissioner have both purchased the product. Public avatars are fine.
Mention the creator and link the product page in any advertisements which make use of these textures.
Leave credits to the creator in any art project.
Use this texture on a legally purchased Vulper.
DON'T:
Use on art projects intended to be hateful or offensive.
Redistribute to people who have not purchased the product.
REQUIREMENTS:
Knowledge of how to move textures into your Unity project and apply them to the character model.
Basic use (for the normal and ambient occlusion maps):
- Open the files received from this purchase
- Drag and drop them into the Materials section of the Vulper.
- Replace the Texture in each of the material spheres with the new corresponding textures.
More advanced (shading, thickness, cavity etc maps):
- Ability to use 2D image editing software for texture layering.
and/or
Substance Painter 3D or similar for texture layering.
FAQ:
How to apply AO and normal maps with Poiyomi?
You can use Poiyomi 8.1 shader or newer:
Open the received files.
Drag and drop the AO and normal map textures into their body material slots.
For more realistic and strong shadows, have "Realistic" (as in the preview) or "Wrapped" Lighting Type selected under "Shading".
With Toon lighting, to make the normals show, you should enable Rim Lighting and adjust the settings.
You should consider adding shading to the color map for an extra oomph for the muscles.
The normal map is in OpenGL format.
Optional: How to use the shading map?
The shading map changes the tones of the muscle cavities to darker colors and accentuates them.
Adding shading to an existing color texture:
- In 2D Programs:
Open your Body texture.
Create an additional layer above the texture.
Place the shading on that layer and change the layer type to Multiply.
Duplicate the layer to intensify the effect as needed.
Save as .png or another flat image format for Unity texture use.
In Substance Painter:
Create a fill layer at the top of the Body Texture Set.
Import the body shading map texture.
Set the body shading as the base color for the fill layer.
Change layer type to Multiply and duplicate the layer to intensify the effect as needed.
- In Unity (for Poyiomi shader):
See the instruction image in the pics/ in the delivered .zip file.
Enable Color & Normals > Details
Drag & Drop Shading map into Detail Texture slot.
Set Detail Texture Global Mask to Multiply.
Adjust Detail Texture Tint (white or some light tint), Detail Tex Intensity and Detail Brightness to your liking.
This is a digital product, so there will be no refunds once purchased.
Enjoy and please leave a review!

