How to create a VRChat avatar
A step-by-step guide for creating an avatar for VRChat.
Import into Unity
Install Unity
Go to the VRChat website and download whatever version of Unity they require (at the time of writing this is 2019.4.31f1).
Install VCC
Go to the VRChat website and download and install the VRChat Creator Companion (at the time of writing the latest version is 2.1.6).
Create project
Open the VCC and create a new avatar project. Open it up in Unity:
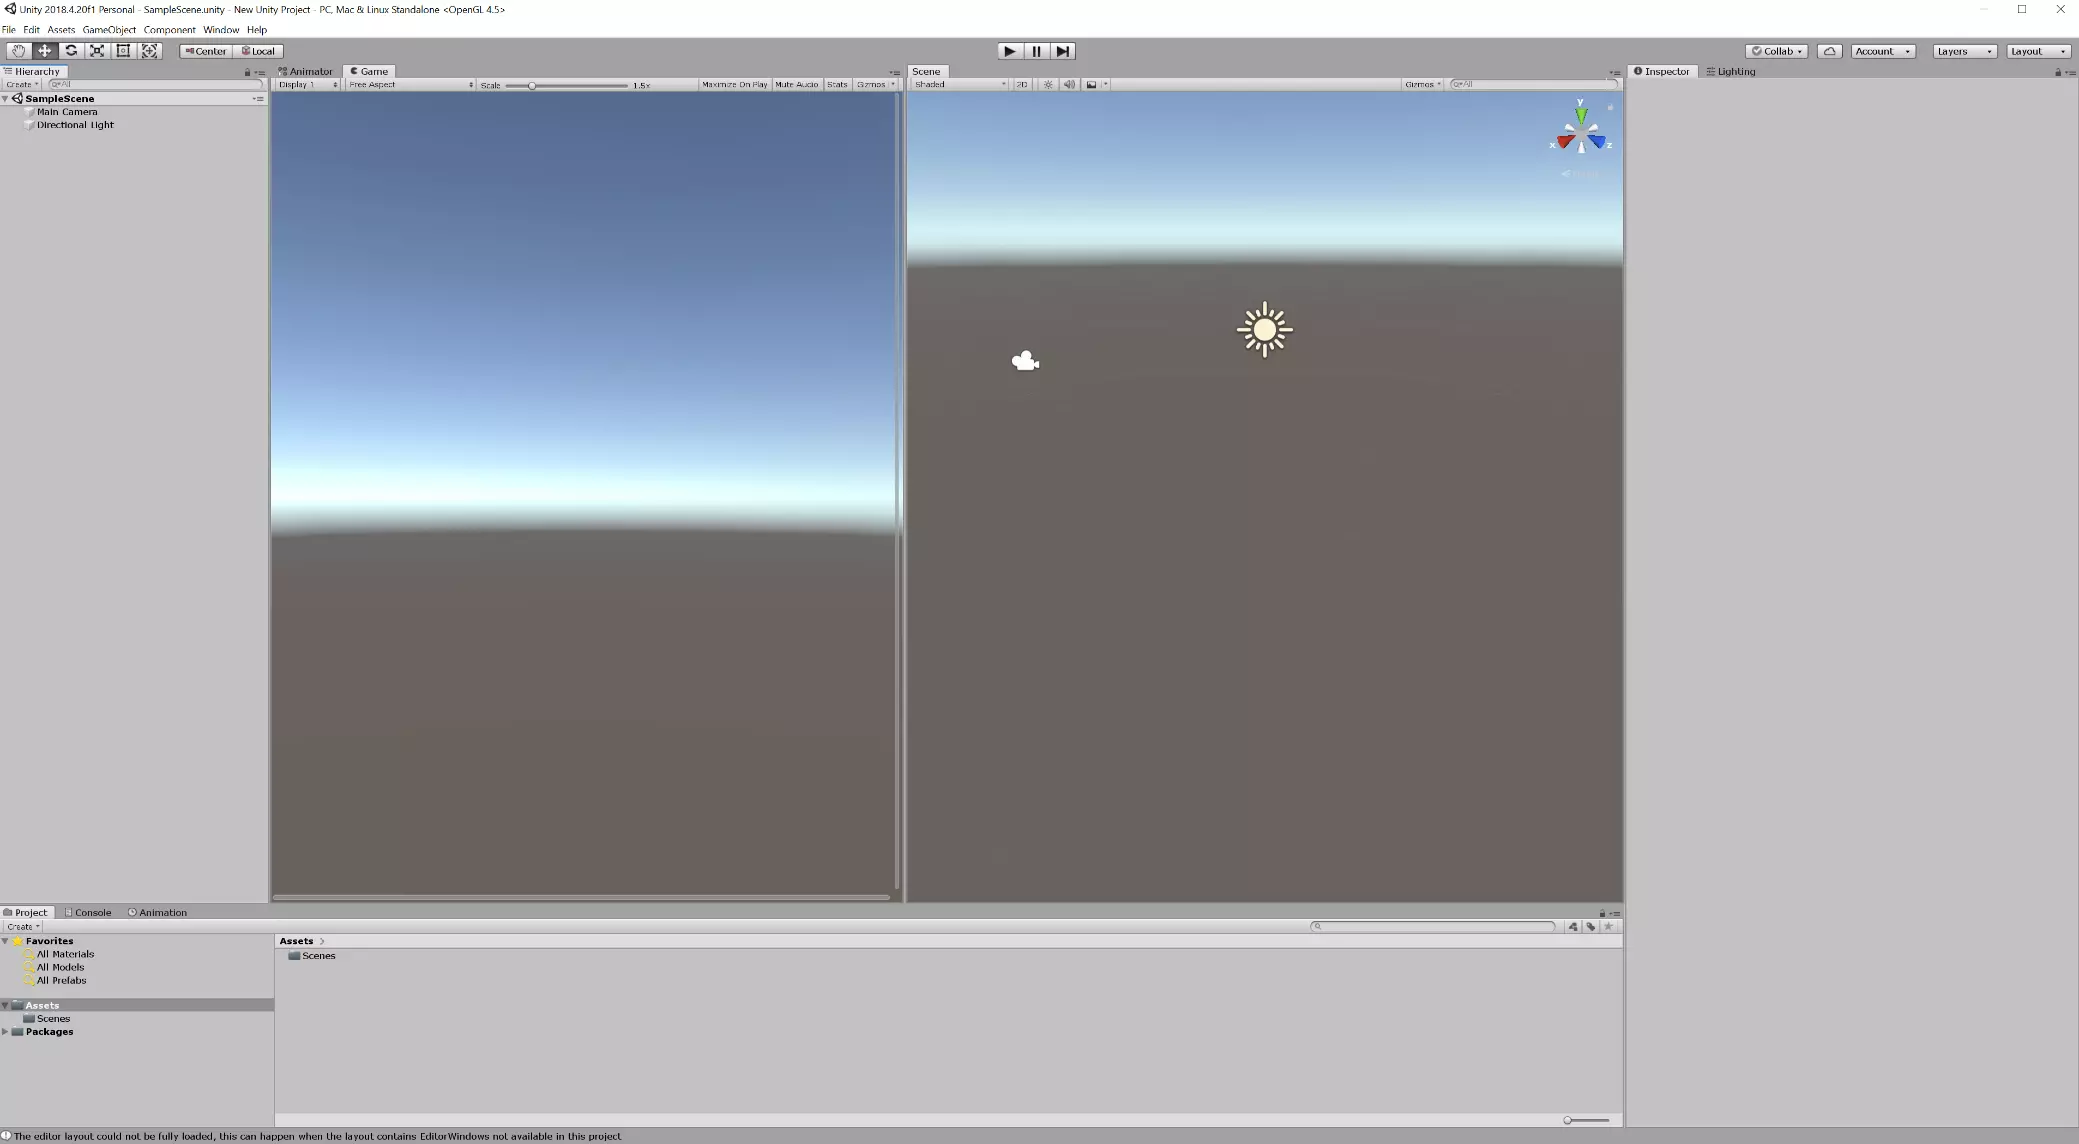
Window toolbar
Shows you basic information about your Unity project as well as buttons to change your project.
Tools
A collection of tools to manipulate objects in your scene. Move, rotate and scale are the most common.
Scene
Avatars and worlds in VRChat exist inside a "scene" which is simply a collection of objects that are independent from each other except for the assets that they use from your project.
A single Unity project can have as many scenes as you like with each scene being an independent VRChat avatar that shares the same accessories.
Click the sun icon to toggle lighting.
Hierarchy
These are the objects inside your scene. Usually it contains your avatar, its accessories and a couple of default objects such as a camera and a light.
Double-click an object to focus the camera on it.
Game
This is usually what the player in a Unity game would see. For VRChat it is only used to test PhysBones. You can safely ignore it right now.
Project
This shows you every asset (file) inside your project.
Inspector
This panel shows you information about any object in your hierarchy or any asset you have clicked on from the Project panel.
Game objects always have a name (blue), transform (rotation, position and scale - green), can be toggled off and on (red) and have a list of "components" that are attached to them (pink). Components can be scripts or a Dynamic Bone or anything (in this example it is an Animator which controls animation).
Install VRChat SDK
You must install the VRChat SDK before you start working with avatars.
Ensure you select SDK3 - Avatars
Once you have downloaded it (it should be a .unityproject) double-click the file to tell Unity to import the SDK. Click "Import".
Import the avatar
If your avatar comes with a .unitypackage file: double-click it and click "Import" when prompted (like with the SDK).
If your avatar comes with a .fbx file: drag and drop the file into the Project panel in your Unity project to import it.
The Toastacuga comes with a .unitypackage so we get the usual Unity pop-up:
Insert into scene
If your avatar comes with a scene (check the "Scenes" folder in the Project panel) double-click it to open it.
If your avatar comes with a prefab or fbx file then drag it anywhere into the Hierarchy panel or into the scene view itself. This inserts into the scene.
This is what our scene looks like when we import the Toastacuga:
Import textures
We need to import the textures you exported from Substance Painter. Simply drag and drop all of the .png files into a folder inside your project (give it the name "My Textures" to help you later).
These are the textures for the Toastacuga:
Create materials
A material in Unity is a collection of textures (specifically albedo map, normal map and other maps) and a shader that tell Unity what your avatar should look like.
You should create a material per texture set that you exported from Substance Painter. For example the Toastacuga has body, eyes, eye exterior and fur.
- create a folder in your Project panel called "My Materials"
- right click the folder and hover over "Create" then click "Material"
- give it a name that corresponds to the textured object (such as "body" or "eyes")
- repeat for each textured object
This is the material for the body part of the Toastacuga:
- Blue: Albedo map
- Red: Normal map
- Green: Adjust how shiny the material is
Click the black dot next to the text label to open up the browser and select the .png file that corresponds to the textured object:
Apply materials
Once you have your material simply drag it over the object you want to apply it to in your scene. It should immediately appear:
Upload
The next step is uploading your avatar!